

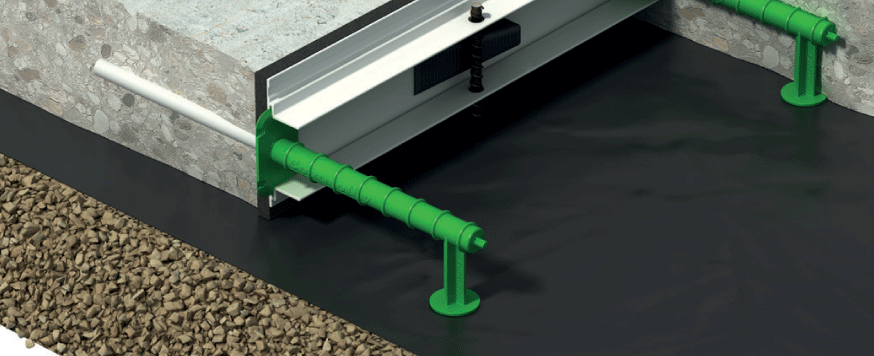
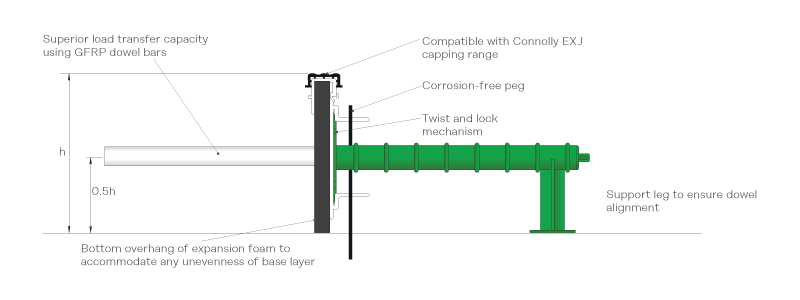
The Connolly DuraJoint® EXJ is a continuous pour solution for concrete footpaths, cycleways, driveways, and various urban concrete pavements. DuraJoint® EXJ is a versatile and robust corrosion-resistance leave in place formwork which allows for 10mm expansion while transferring the load across the joint utilising Glass Fibre Reinforced Polymer dowel bars.
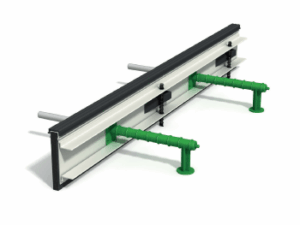
Connolly DuraJoint® EXJ Expansion Joint System
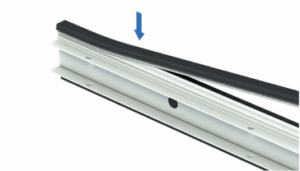
The DuraJoint® EXJ profile has pre-formed holes which allow it to be used in conjunction with Connolly Universal Dowel Sleeves (UDS). A wide range of permanent capping and rebate moulds are available to be used with DuraJoint® EXJ.
Features:
Download the Connolly DuraJoint® EXJ Installation Guide
Step 1:
In the case where permanent capping or a rebate mould is used, ensure it is pushed firmly onto the top of the system prior to placement.
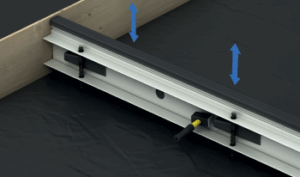
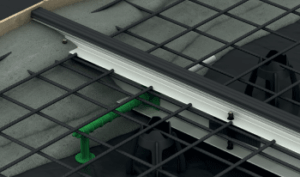
Step 2:
Position the expansion joint profile in the desired location and drive in the supplied pegs. Ensure the top of the peg is at least 20mm below the intended level of the finished concrete.
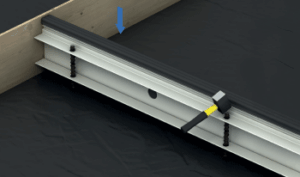
Step 3:
Adjust the profile to the correct height and secure by tapping in the supplied wedges.
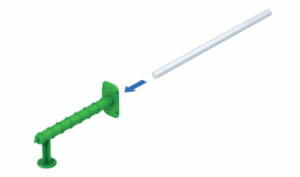
Step 4:
Insert dowels into the Universal Dowel Sleeves by pressing all the way to the end of the sleeve.
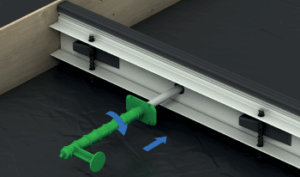
Step 5:
Install the Universal Dowel Sleeve in the profile by pushing the dowel through the foam at the centre of the pre-punched holes and twist the sleeve 90 degrees to fix in place.
Step 6:
Place reinforcement and pour concrete evenly to both sides of the expansion joint at the same time. Finish surface and ensure top of joint is clear of any concrete.
Use the form below to send us an email with your enquiry or request for drawings.